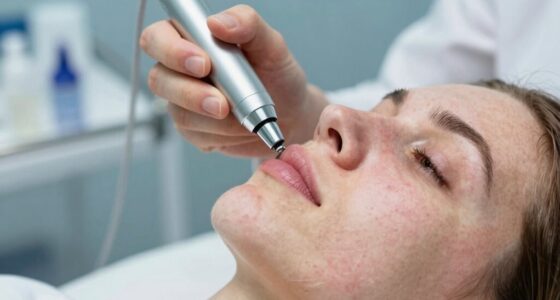

To safely test devices without risking full-face fallout, choose a small, discreet skin area like behind your ear or on your inner arm, and follow proper preparation steps like cleaning and avoiding irritants. Apply the device with a hypoallergenic patch, monitor for reactions over 48 hours, and check periodically. If you experience a reaction, remove the device immediately and seek professional advice. Keep exploring to learn more about safe testing practices and how to protect your skin.
Key Takeaways
- Select discreet, flat skin areas like behind the ear or inner forearm for testing to prevent visible fallout.
- Follow proper skin preparation: clean with fragrance-free soap and ensure dryness before applying patches.
- Use hypoallergenic patches and rotate sites to minimize irritation and accurately monitor reactions.
- Limit testing duration to 48 hours, and check for delayed reactions at 72 and 96 hours for comprehensive results.
- Consult a professional for guidance on safe testing practices and managing any adverse skin responses.

Patch Eco First Aid Kit, Assorted Hypoallergenic Adhesive Sizes Large and Small Bandages for Sensitive Skin, Essential Medical Supplies in a Reusable Tin, Latex Free, Sensitive Skin Bandages, 77 ct
- Natural Bamboo Material: Made from organic bamboo fiber
- Hypoallergenic & Gentle: Suitable for sensitive skin
- Chemical-Free & Plastic-Free: Free from irritants and toxins
As an affiliate, we earn on qualifying purchases.
As an affiliate, we earn on qualifying purchases.
Why Patch Testing Devices Matters

Patch testing devices is essential because it guarantees safety and functionality before widespread use. By conducting patch tests, you raise allergy awareness, helping identify potential skin sensitivities early on. This process allows users to detect sensitivities before full exposure, reducing the risk of adverse reactions. Understanding your skin’s response ensures the device won’t cause irritation or harm. It also helps manufacturers refine designs to reduce allergens and improve comfort. Recognizing skin sensitivities through patch testing empowers you to make informed choices, decreasing the risk of allergy flare-ups. Additionally, skin sensitivity testing can uncover underlying allergies that might otherwise go unnoticed, further enhancing safety. Conducting thorough calibration during testing can also improve device performance and user experience. Proper testing protocols are vital to ensure the reliability and safety of the devices before they reach consumers. Ultimately, this process fosters safer, more effective devices, giving you confidence in their use and peace of mind during daily applications.

Hero Cosmetics Mighty Patch Original Nighttime Acne Pimple Patches, 75 Ct
- Award-Winning Acne Patch: Visibly improves pimples overnight
- Fast Results: Absorbs pimple gunk in 6-8 hours
- All-Night Adhesion: Stays on overnight, easy to remove
As an affiliate, we earn on qualifying purchases.
As an affiliate, we earn on qualifying purchases.
How to Choose the Best Spot for Your Patch Test
Choosing the right spot for your patch test is essential to obtaining accurate results. For effective spot testing, select clean, flat areas with minimal movement, like behind your ear or on your inner arm. These allergen areas are less likely to be disturbed or irritated, helping you detect true allergic reactions. Avoid testing on broken or inflamed skin, as this can skew results. Keep in mind that the spot should be easily accessible for monitoring and removal. Be consistent in choosing the same spot for each allergen test to avoid confusion. Remember, the goal is to observe any reactions without interference from other skin issues. Proper placement ensures you get a clear picture of your sensitivities and prevents false positives or negatives. Additionally, selecting areas with minimal exposure to environmental factors can help maintain the accuracy of your test results. Incorporating proper skin preparation can further improve the reliability of your patch testing process. Ensuring that the skin is clean and free from lotions or creams prior to testing can help improve the test accuracy and clarity of results. Using consistent testing techniques across different tests can also reduce variability and improve overall reliability, especially when combined with support for skin health.

Dove Beauty Bar Soap Sensitive, 8 Bars for Sensitive Skin, Fragrance Free and Hypoallergenic 3.75 oz
- Gentle Cleansing for Sensitive Skin: Cleanses while keeping skin soft and smooth
- Fragrance-Free and Hypoallergenic: Nourishes skin without dryness or irritation
- Versatile for Face, Body, Hands: Suitable for daily facial, body, and hand use
As an affiliate, we earn on qualifying purchases.
As an affiliate, we earn on qualifying purchases.
How to Prepare Your Skin for Patch Testing
Preparing your skin properly is essential to ensuring accurate patch test results. A strong skin barrier helps prevent false negatives and maximizes patch preparation effectiveness. To get your skin ready, follow these steps:
Proper skin prep ensures accurate patch test results by strengthening your skin barrier.
- Cleanse the area gently with a fragrance-free, non-irritating cleanser to remove oils and dirt.
- Avoid applying lotions, creams, or any skincare products for at least 24 hours before patch testing.
- Do not exfoliate or use harsh scrubs that could compromise your skin barrier.
- Ensure the skin is dry and free from irritation or cuts before applying the patch.
- Maintaining a healthy skin barrier is crucial, as a compromised barrier can lead to inaccurate test outcomes. Skin health is vital for reliable patch testing results.
- Also, be mindful of recent family photoshoot fails, as unexpected reactions or skin irritations could influence test outcomes if the skin has been exposed to allergens or stressors.
- Remember that skin barrier integrity can be affected by environmental factors, so taking steps to protect your skin before testing can improve accuracy.
- Incorporating gentle, nourishing skincare routines can support your skin’s resilience and overall skin condition, further enhancing test reliability.
- Staying well-hydrated and avoiding excessive sun exposure can also help maintain healthy skin, which is beneficial for accurate patch testing.

Skin Grip Adhesive Patches Compatible with Dexcom G7 & Stelo CGM Sensors
- Long-Lasting Compatibility: Fits Dexcom G7 & Stelo CGM
- Waterproof and Sweatproof: Resists water during showers and swimming
- Skin-Friendly Material: Breathable, latex-free, hypoallergenic adhesive
As an affiliate, we earn on qualifying purchases.
As an affiliate, we earn on qualifying purchases.
How to Patch Test Devices at Home: A Step-by-Step Guide
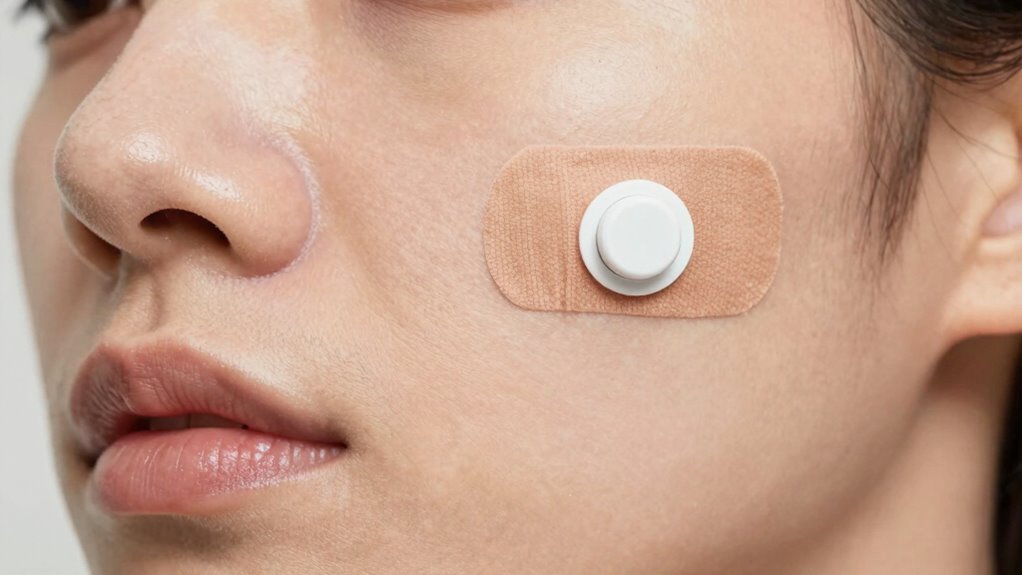
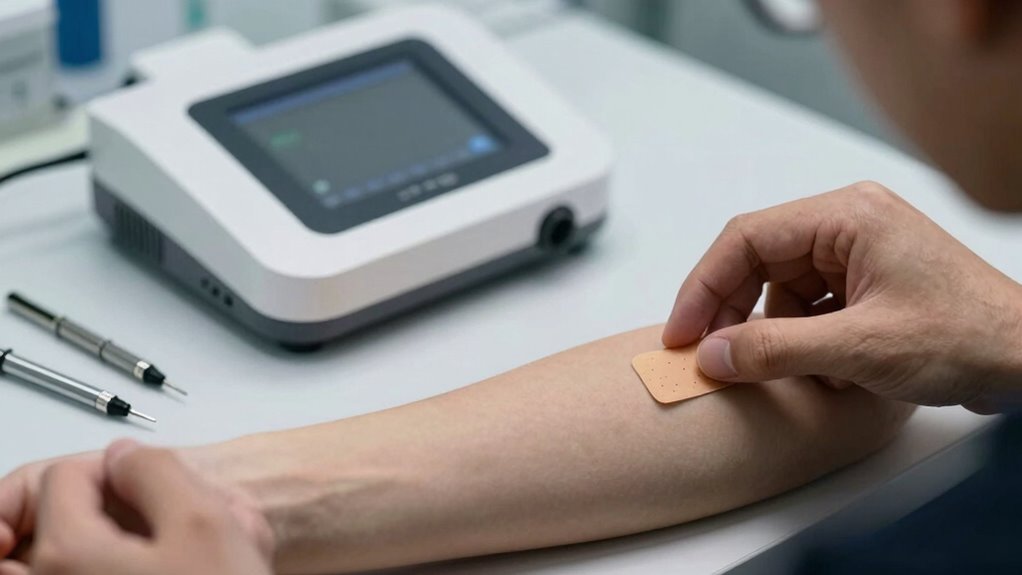
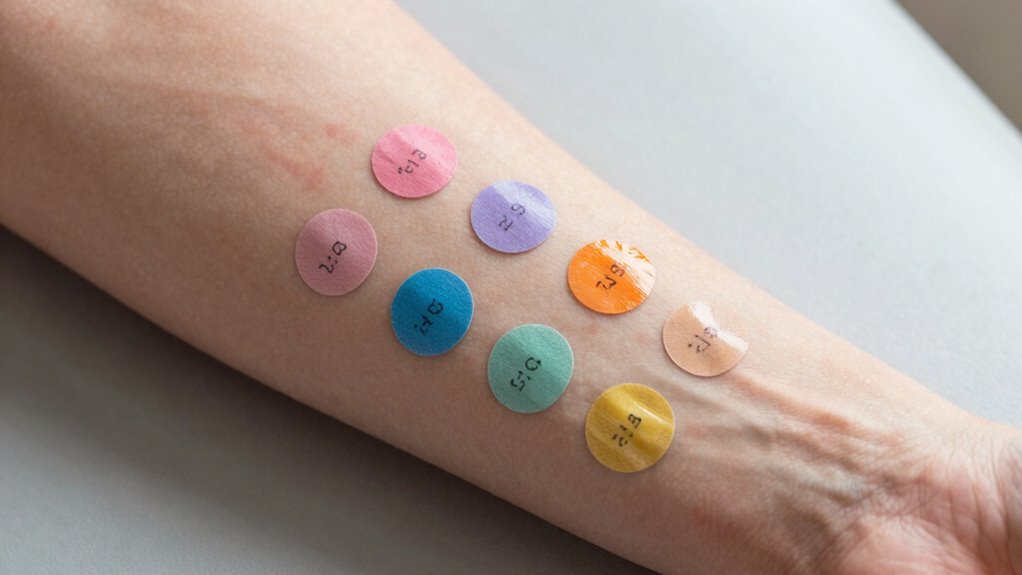
Start by choosing areas of your skin that are discreet and easy to monitor, like behind your ear or on your inner forearm. Next, carefully apply small patches of the device or its materials to these spots, following your provider’s instructions. Be sure to observe your skin’s reaction during the 48 hours to catch any early signs of irritation or allergy. Finally, keep an eye on the sites for any signs of irritation or reaction over the next 48 hours.
Selecting Test Areas
Have you ever wondered which areas are best for testing your devices at home? To minimize reactions, choose patch test placement carefully. Use hypoallergenic options for your patch tests, especially on sensitive skin. When selecting test areas, consider these tips:
- Pick a small, discreet spot like behind your ear or on your inner forearm.
- Avoid areas with hair, scars, or open skin that might interfere with the test.
- Ensure the skin is clean and dry before applying the device.
- Rotate test sites if testing multiple devices to prevent overlapping reactions.
- Remember that safe testing practices help prevent unnecessary irritation and ensure accurate results. Additionally, selecting appropriate test areas based on skin sensitivity can improve detection of device-related reactions.
These areas are ideal because they’re less visible, less prone to irritation, and easy to monitor. Proper patch test placement helps you identify sensitivities without risking full-face fallout.
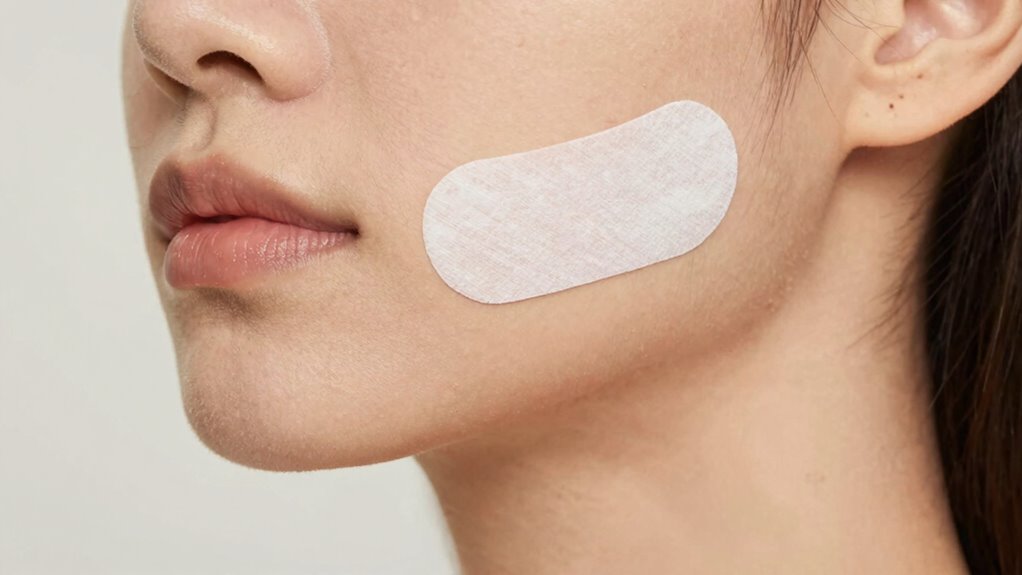
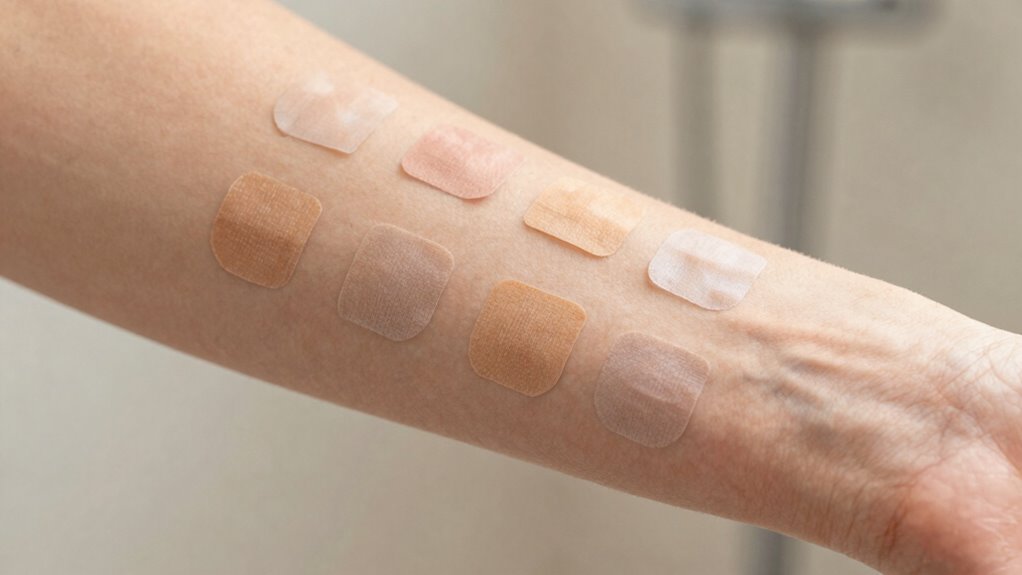
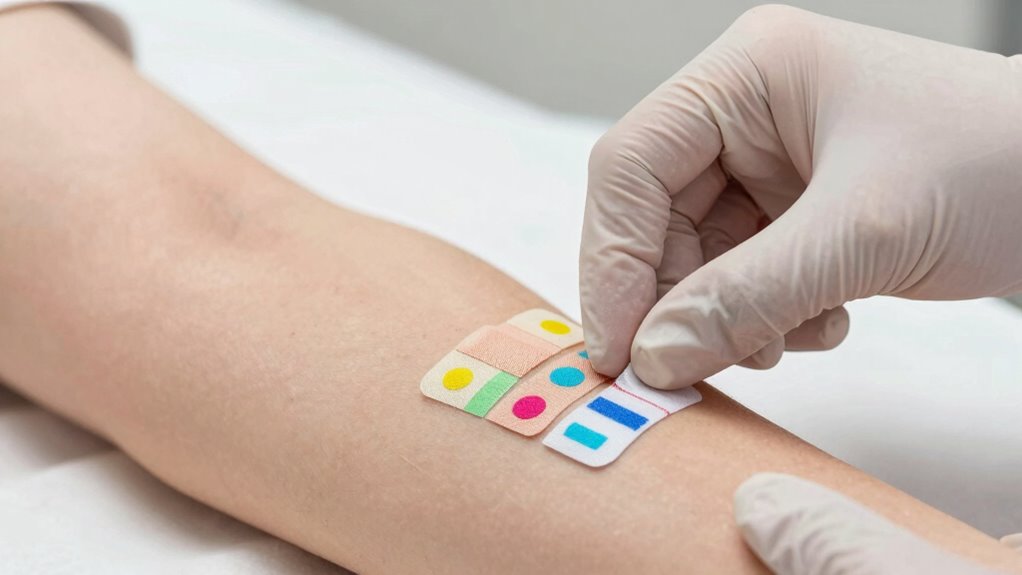
Conducting the Patch Test
To guarantee a safe and effective patch test, gather all necessary materials first, including your device, hypoallergenic adhesive or patch, and a clean cotton swab or applicator. Follow established patch test protocols carefully to minimize risks. Before applying, clean the test area with gentle soap and water, then dry thoroughly. Use the adhesive or patch to secure the device on your skin, preferably on a small area like behind your ear or along your inner forearm. Leave it in place for the recommended duration, usually 24 to 48 hours. During this time, monitor your skin for any signs of irritation or increased sensitivity. This process helps you gauge your skin’s response to the device, ensuring safe use and avoiding adverse reactions related to skin sensitivity. Proper patch testing methods are essential to accurately assess your skin’s compatibility with new skincare devices, helping you avoid potential allergic reactions or sensitivities. Additionally, considering smart home device safety practices can further reduce risks during testing and regular use. Being aware of your skin’s sensitivity levels can also inform how you approach new wellness technology, making the testing process more personalized and effective. Recognizing the importance of safe testing procedures can also help you prevent unnecessary discomfort or skin damage during the trial.
How Long Should You Leave a Patch Test and When to Check Results?
You need to know the right amount of time to leave the patch on your skin to get accurate results. Typically, patches are left in place for 48 hours, but this can vary based on the product. Checking the area at appropriate intervals guarantees you catch any reactions early and interpret the results correctly. Additionally, understanding artistic expression can encourage a more mindful and curious approach to your skincare routine, fostering resilience and adaptability as you observe your skin’s responses.
Timing for Patch Removal
Wondering how long to leave a patch test in place? Timing considerations are key to accurate results. Generally, you should follow these steps for patch removal:
- Remove the patch after 48 hours, unless your practitioner advises differently.
- Avoid washing the area immediately; wait at least 15 minutes.
- Keep a detailed record of any reactions during this period.
- Check the site 48 hours after removal for delayed responses.
Ideal Checking Intervals
After removing the patch, scheduling the right intervals for checking results guarantees accurate detection of reactions. Typically, you should check for signs of device compatibility issues between 48 and 96 hours after application. Some reactions may be delayed, especially if allergy thresholds are high, so a follow-up at 72 or 96 hours ensures you don’t miss delayed responses. Keep in mind that early checks might miss late-onset reactions, while too frequent testing can cause irritation. To balance this, schedule initial evaluations at 48 hours, with a final check at 96 hours. This approach helps identify true allergic responses without false positives, ensuring your patch testing accurately reflects the device’s compatibility and your individual allergy thresholds.
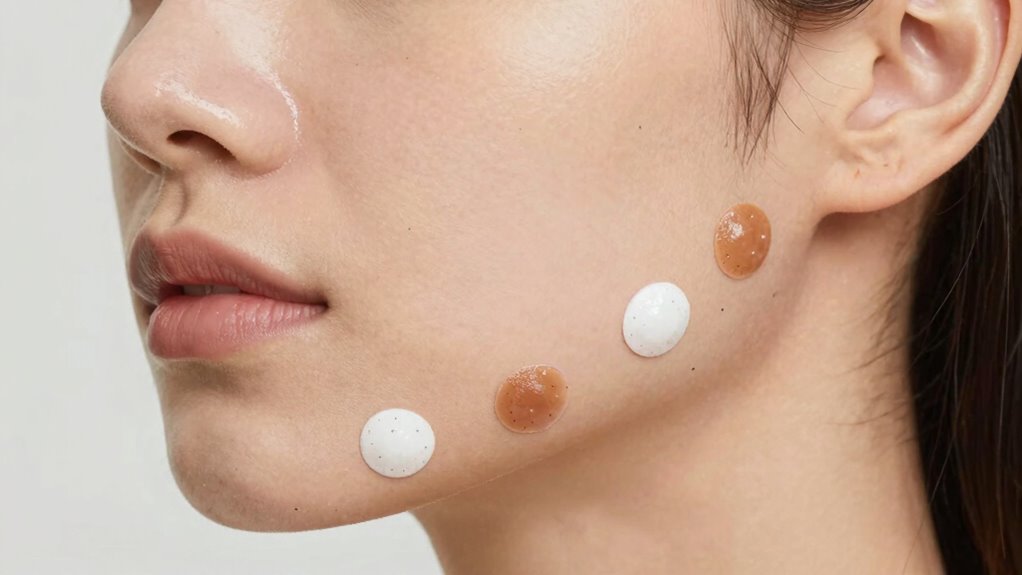
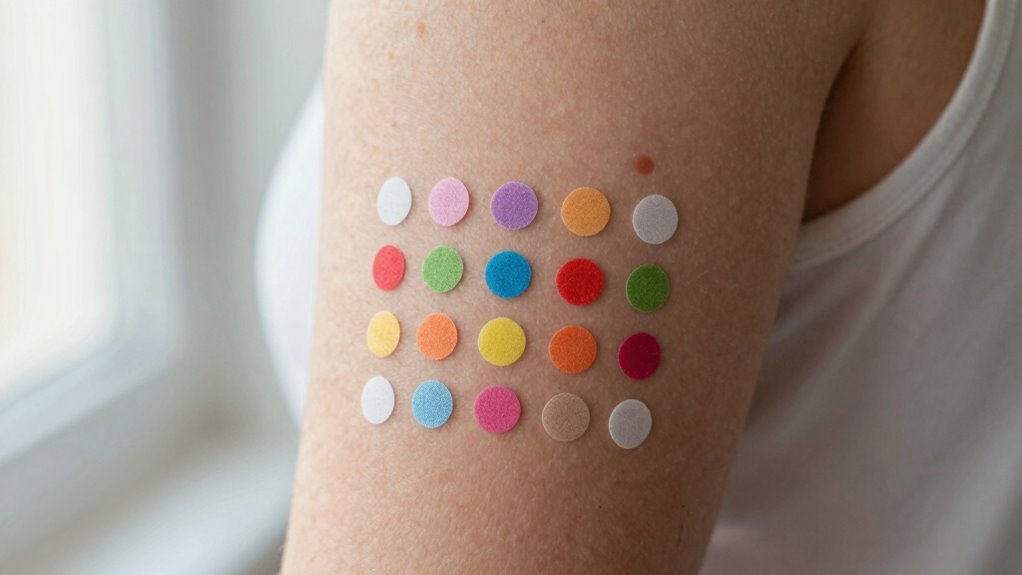
How to Read Your Patch Test Results and What They Mean
Reading your patch test results can seem confusing at first, but understanding the markings and symbols is essential for identifying sensitivities. Clear results help you recognize potential allergy symptoms and skin sensitivity reactions.
Here’s how to interpret them:
- No reaction: Skin remains unchanged; unlikely sensitivity.
- Mild redness or itching: Possible skin sensitivity; monitor for symptoms.
- Strong redness, swelling, or blistering: Indicates a positive reaction; avoid the allergen.
- Delayed reaction: Symptoms appear after 48-72 hours, signaling a delayed allergy.
Always compare your reactions to the control patches. If you notice any signs of allergy symptoms or skin sensitivity, consult your healthcare provider for guidance. Proper interpretation helps you avoid further irritation and find suitable alternatives.
What to Do if You Experience Skin Reactions During Patch Testing?

If you notice a skin reaction during patch testing, act quickly to manage it. Remove the suspected device or allergen and halt further exposure. Then, seek professional advice to guarantee proper care and guidance.
Immediate Reaction Management
What should you do immediately if you notice a skin reaction during patch testing? First, stop the test and assess the severity of the reaction. Next, follow these steps:
- Gently remove the device or patch to prevent further irritation.
- Clean the area with mild, fragrance-free soap and cool water to reduce skin sensitivity.
- Apply a cold compress to soothe redness and swelling.
- Document the reaction and inform your healthcare provider to contemplate device longevity and skin sensitivity risks.
Remove Suspected Items
When a skin reaction occurs during patch testing, promptly remove the suspected device or patch to minimize irritation. This quick action helps prevent worsening symptoms and reduces discomfort. Focus on suspected ingredients that may be causing the reaction, and carefully perform the patch test removal. After removal, gently cleanse the area with water and avoid rubbing.
| Suspected Ingredients | Action Needed |
|---|---|
| Known allergens | Remove immediately, monitor |
| Uncertain ingredients | Remove, observe for reaction |
| Strong irritants | Remove and seek relief |
| Mild irritation | Remove, cool compress |
Proper removal and understanding suspected ingredients ensure safety and help identify true allergens, allowing for safer future testing.
Seek Professional Advice
Experiencing a skin reaction during patch testing can be alarming, and taking prompt, appropriate action is vital. If this happens, seek professional advice immediately. Professionals specializing in personalized skincare can evaluate your reaction, determine if it’s due to device compatibility issues, and suggest alternative solutions. Here are steps to follow:
- Stop using the device and avoid further exposure until evaluated.
- Document your reaction with photos and notes to share with your specialist.
- Consult a dermatologist or skincare professional experienced with device reactions.
- Follow their recommendations for treatment or alternative device options tailored to your skin’s needs.
Getting expert guidance ensures you protect your skin while exploring safe, effective options.
How to Test Multiple Devices Safely Without Cross-Reactions
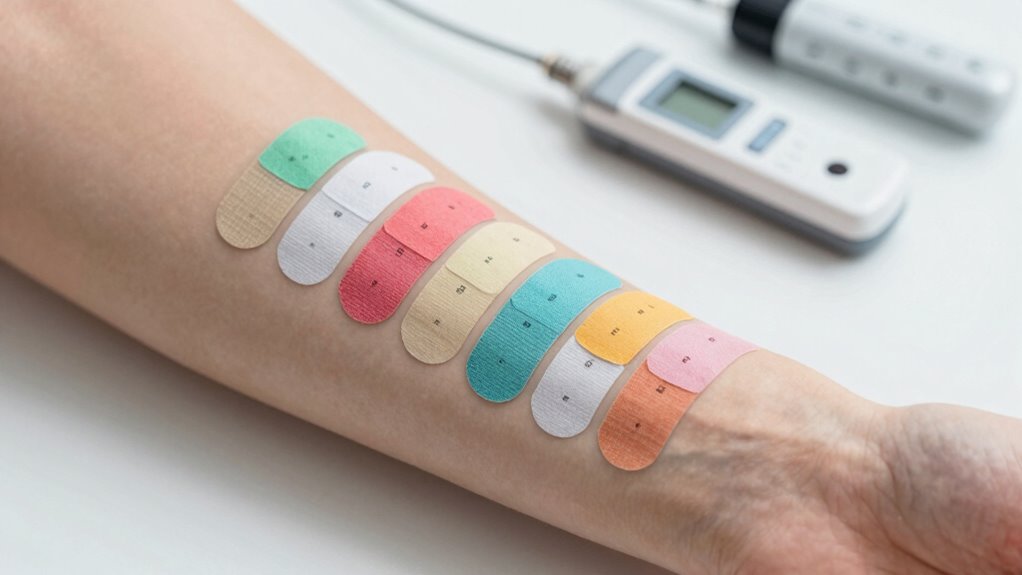
To test multiple devices safely and prevent cross-reactions, you should implement a systematic approach that isolates each device during testing. This helps identify allergy cross reactions and ensures device compatibility without confusion. Assign distinct testing sites, keeping a clear record of each device and its reaction. Use staggered testing days for different devices to monitor reactions separately. To visualize, consider this layout:
| Device | Testing Site | Observation Period |
|---|---|---|
| Device A | Area 1 | 48 hours |
| Device B | Area 2 | 72 hours |
| Device C | Area 3 | 96 hours |
| Device D | Area 4 | 7 days |
| Control | Adjacent skin | Same as device |
This method minimizes cross-reactivity and helps you pinpoint specific allergies accurately.
Additional Resources and When to See a Dermatologist
If you notice persistent or severe reactions during patch testing, seeking additional resources can help you better understand your condition. These resources can guide you on device compatibility and allergy awareness. Consider the following:
- Consult reputable dermatology websites for detailed info on device materials and potential allergens.
- Join support groups focused on device allergies to share experiences and learn coping strategies.
- Review scientific studies on device-related contact dermatitis for deeper insights.
- Schedule an appointment with a dermatologist if reactions worsen or don’t improve, especially for professional allergy assessment.
Getting expert advice guarantees accurate diagnosis and tailored treatment. Recognizing when to see a dermatologist helps protect your skin and confirms whether your device choices are safe, reducing the risk of future flare-ups.
FAQs: Common Questions About Patch Testing Devices
Curious about how patch testing for devices works? Many wonder about device compatibility and allergy considerations. The process helps identify if a device triggers a skin reaction, minimizing full-face fallout. Common questions include how long to wear the patches and what signs indicate a positive reaction. To make it clearer, here’s a quick overview:
| Question | Answer |
|---|---|
| How long do I wear patches? | Usually 48 hours, depending on the device and provider’s advice. |
| What if I react? | Contact your dermatologist immediately for guidance. |
| Can I use multiple devices? | Yes, but inform your doctor to avoid cross-reactivity issues. |
This approach ensures safe testing, considering allergy considerations and device compatibility.
Frequently Asked Questions
Can I Perform Patch Testing on Sensitive Skin Types Safely?
Yes, you can perform skin patch testing on sensitive skin safely by following proper procedures. Use a small, discreet area and choose hypoallergenic products designed for sensitive skin types. Keep the test area clean and monitor for any reactions over 48 hours. If irritation occurs, remove the product immediately and consult a dermatologist. This approach minimizes risks and helps identify safe options without causing full-face fallout.
How Often Should I Repeat Patch Tests for Accuracy?
You should repeat patch tests every 48 to 72 hours to guarantee accuracy, especially if the initial reaction was mild or unclear. Monitor reactions closely during this test frequency, noting any signs of sensitivity or irritation. Consistent reaction monitoring helps you identify delayed responses, ensuring safe device use. Regular testing reinforces your understanding of potential allergens, reducing the risk of full-face fallout and improving overall safety.
Are There Natural Remedies to Soothe Reactions During Testing?
Did you know that over 50% of people find natural remedies helpful for skin reactions? During testing, you can use home remedies like aloe vera gel or cooled chamomile tea bags to soothe skin reactions. These skin soothing options help reduce redness and irritation naturally. Just make sure you apply them gently and avoid any ingredients you’re allergic to. Always consult a healthcare professional if reactions worsen or persist.
What Are Alternative Methods if Patch Testing Isn’T Possible?
If patch testing isn’t possible, you should carefully avoid ingredients you suspect cause reactions, especially during the patch test duration. Keep a detailed record of products used and reactions. Consult a dermatologist for alternative methods like clinical history assessments or delayed reaction observation. This approach helps minimize risks while you identify potential irritants, ensuring you don’t expose yourself to unnecessary allergens during your trial period.
How Do I Differentiate Between Irritation and Allergic Reaction?
To differentiate between irritation and an allergic reaction, look for rash identification signs. An irritation usually causes redness, dryness, or burning without swelling or hives, while an allergic reaction often results in swelling, hives, or blisters. If you suspect an allergy, seek allergy confirmation through proper testing. Pay close attention to timing and symptoms, as allergic reactions tend to develop more gradually and are more severe than irritation.
Conclusion
Think of patch testing like tending a delicate garden—you carefully place each seed, watch closely for signs of growth, and nurture with patience. By following these steps, you’ll nurture your skin’s health and avoid full-face fallout. With the right preparation and attention, you’ll cultivate a safe path to discovering which devices suit you best. Remember, patience and care today lead to a healthier, happier skin garden tomorrow.